How to get URL query string parameters in Next.js
Query parameters are used to pass data from the URL to the web server or browser. They are essential for customizing user experiences, filtering data, and tracking user actions.
Let’s learn how to easily get the query string parameters from a URL in a Next.js app.
In this article
- Get URL query params in Next.js App Router client component
- Get URL query params in Next.js Pages Router component
- Get URL query params in Next.js middleware
- Get URL query params in Next.js server component
- Get URL query params in getServerSideProps()
- Get URL query params in Next.js Pages Router API
- Get URL query params in Next.js App Router API
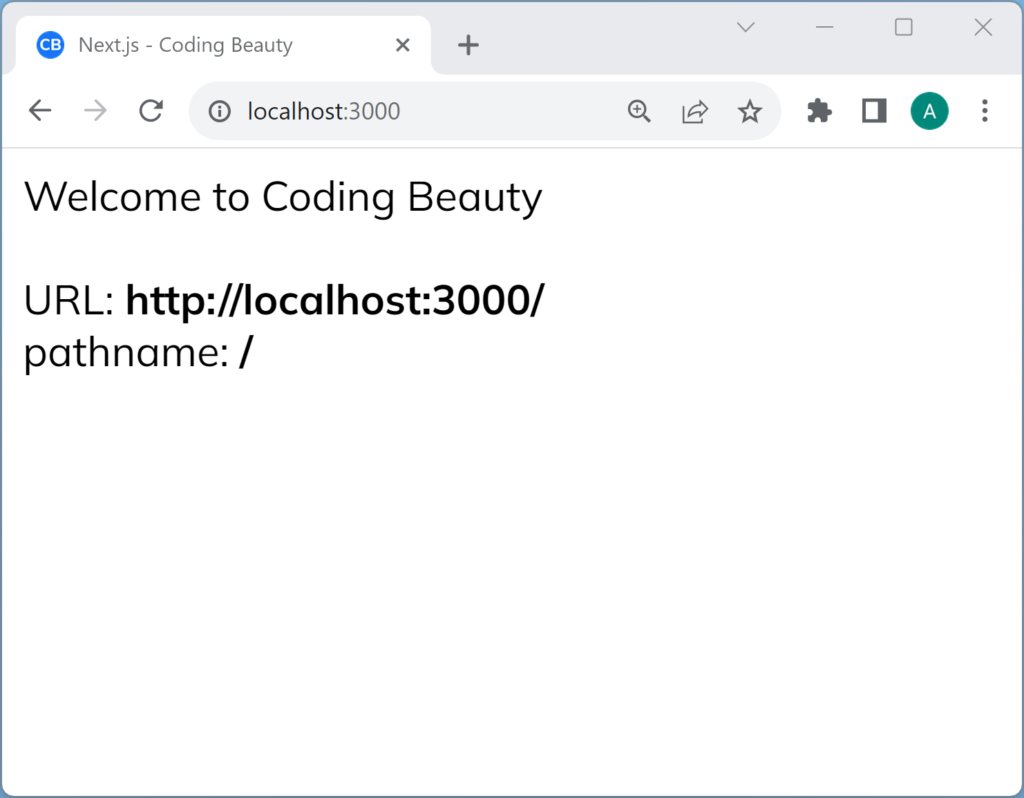
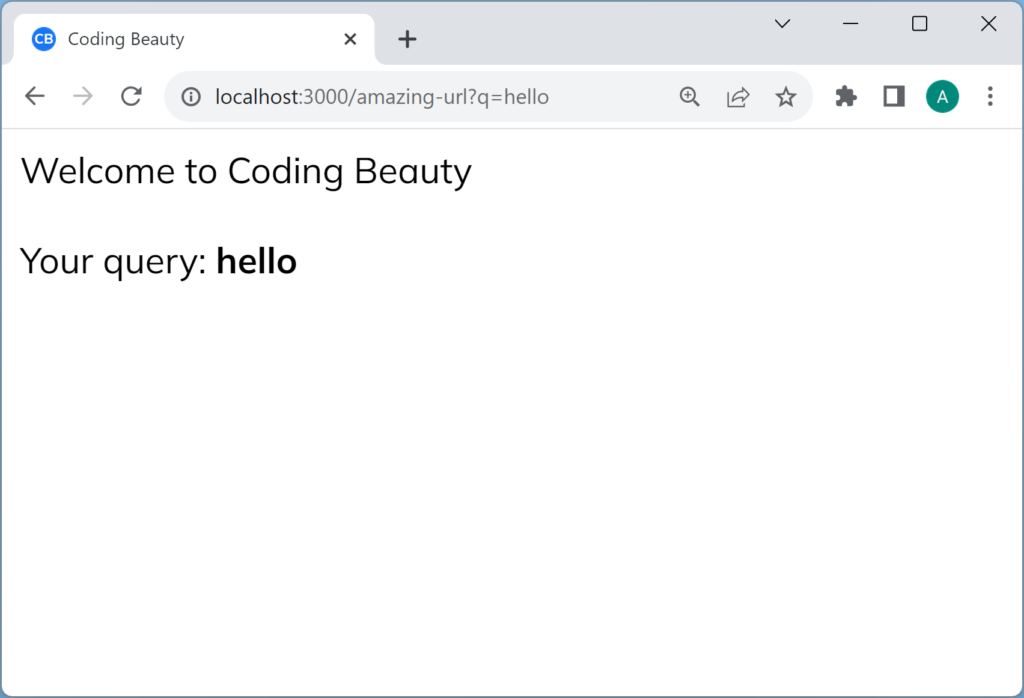
Get URL query params in Next.js App Router client component
To get the URL query string parameters in the Next.js app directory, use the useSearchParams() hook from next/navigation.
'use client';
import { useSearchParams } from 'next/navigation';
export default function Home() {
const searchParams = useSearchParams();
const query = searchParams.get('q');
return (
<>
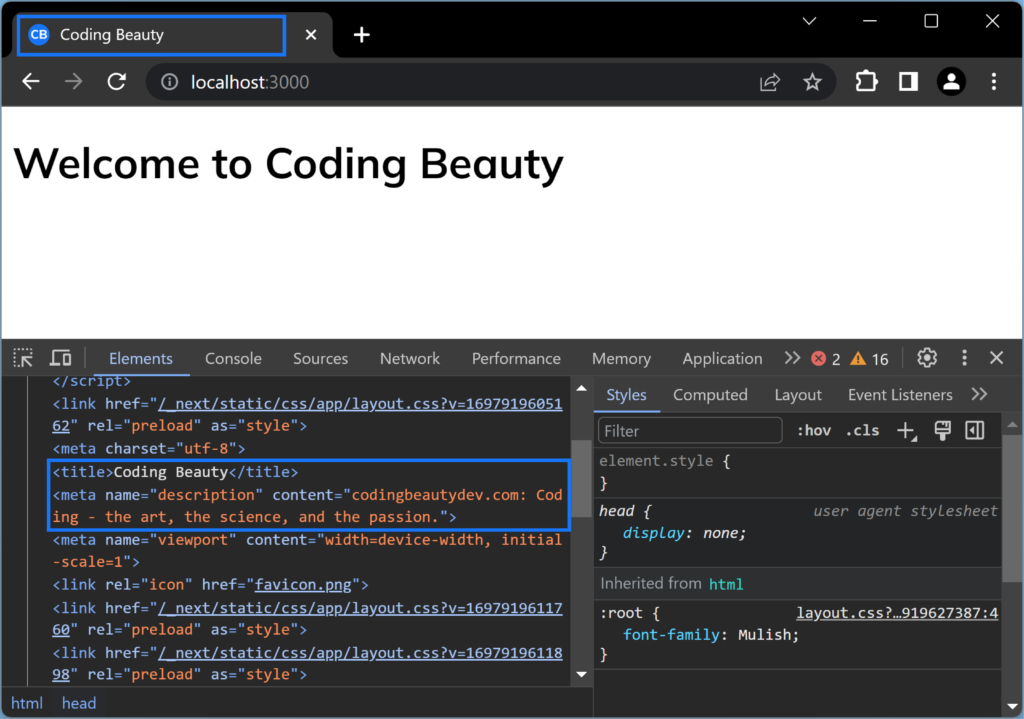
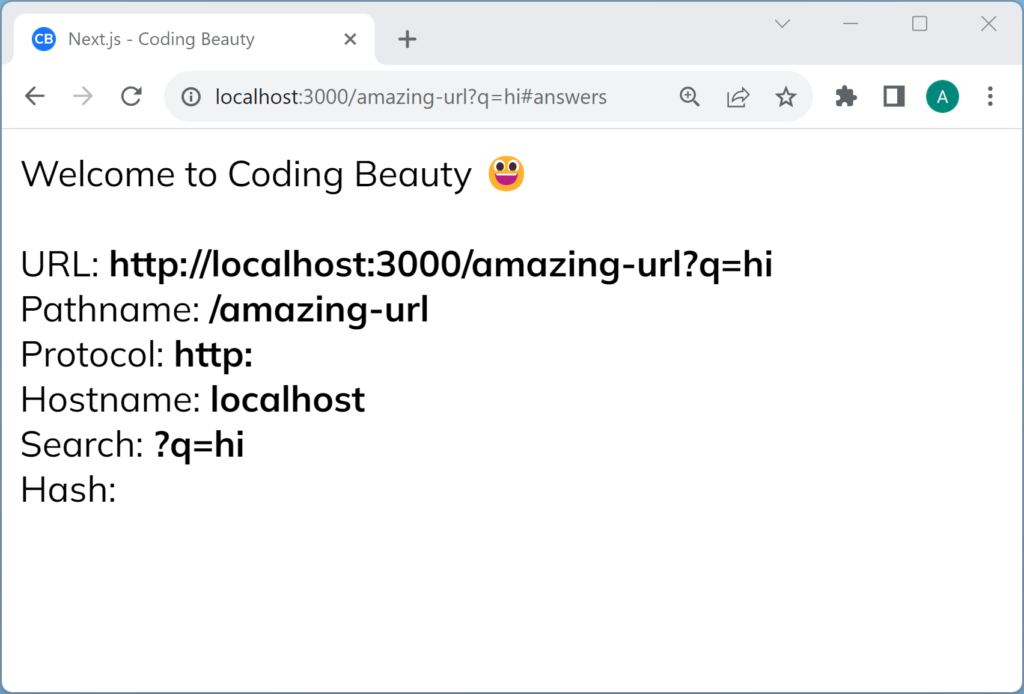
Welcome to Coding Beauty
<br />
<br />
Your query: <b>{query}</b>
</>
);
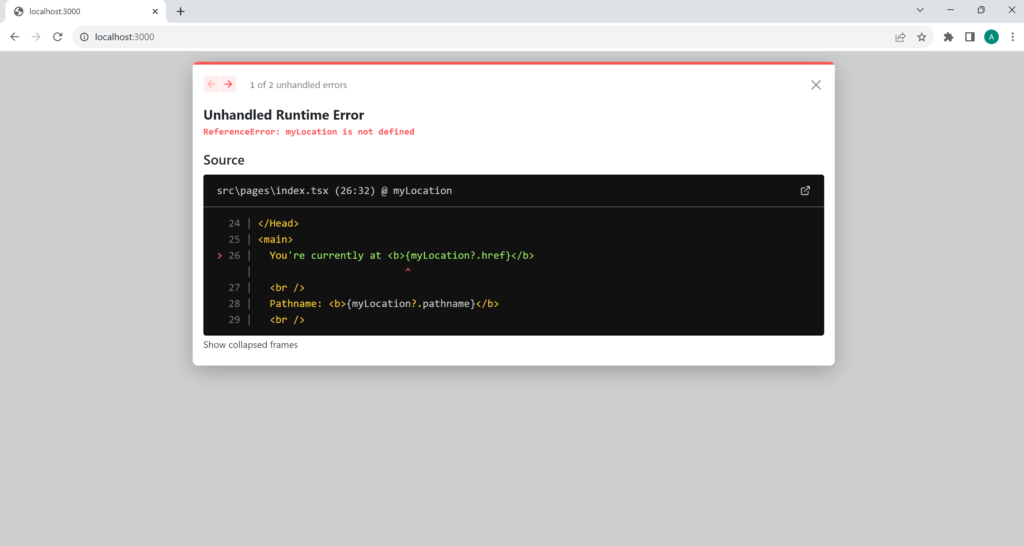
}We need ‘use client’ to use useSearchParams()
Notice the 'use client' statement at the top.
It’s there because all components in the new app directory are server components by default, so we can’t use any client-side specific functionality like hooks and animations.
We’ll get an error if we try to do anything interactive with useSearchParams or other hooks like useEffect, because it’s a server environment.
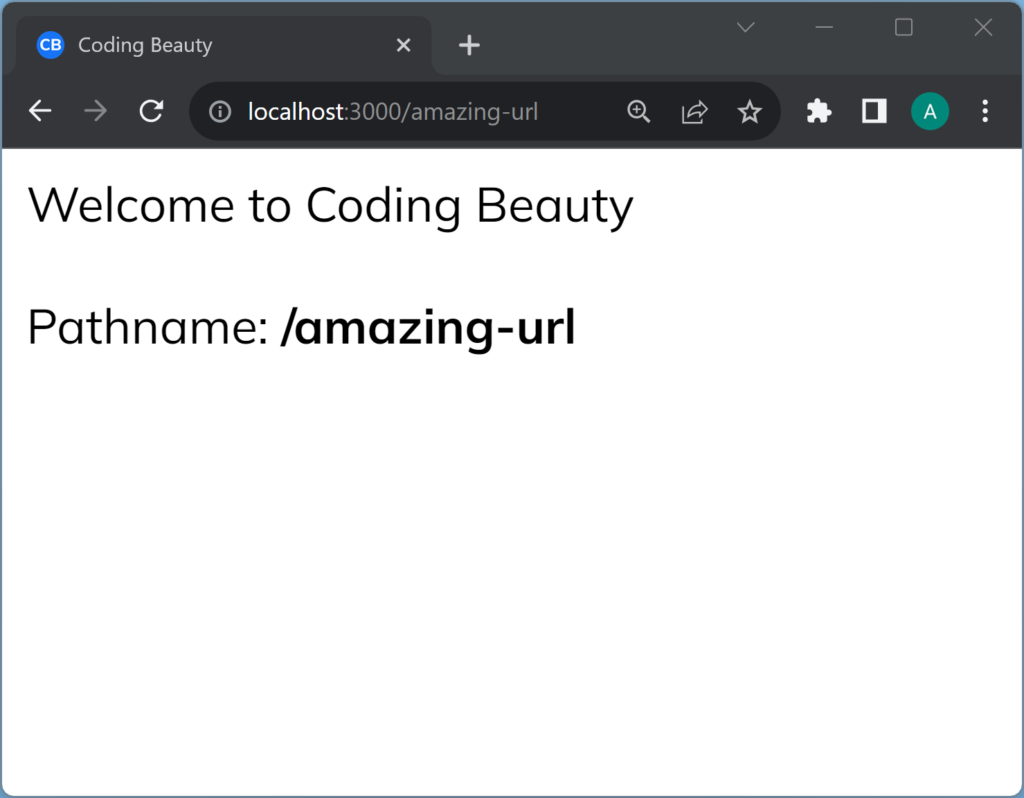
Get URL query params in Next.js Pages Router component
To get the URL query string parameters in pages directory component, use the query property of the useRouter() hook, which comes from the next/router module:
import Head from 'next/head';
import { useRouter } from 'next/router';

export default function Home() {
  const router = useRouter();
  const greeting = router.query.greeting;

  return (
    <>
      <Head>
        <title>Coding Tips | Coding Beauty</title>
        <meta name="description" content="Generated by create next app" />
        <meta name="viewport" content="width=device-width, initial-scale=1" />
        <link rel="icon" href="/favicon.icon" />
      </Head>
      <main>
        <h2>{greeting}</h2>
        <p>Appreciate the beauty of coding</p>
      </main>
    </>
  );
}
Get URL query params in Next.js middleware
To get the URL query string parameters in Next.js App or Pages Router middleware, use the request.nextUrl.searchParams property:
import { NextResponse } from 'next/server';
import { NextRequest } from 'next/server';

export function middleware(request: NextRequest) {
  const continueUrl =
    request.nextUrl.searchParams.get('continue')!;
  return NextResponse.redirect(continueUrl);
}
Get URL query params in Next.js server component
To get the URL query params in a server component, se the URL as a header in middleware, then parse this URL in the server component to get the query string and parameters:
import { NextResponse } from 'next/server';
import { NextRequest } from 'next/server';

export function middleware(request: NextRequest) {
  const reqHeaders = new Headers(request.headers);

  // toLowerCase() to avoid 404 due to Next.js case-sensitivity
  const url = request.url.toLowerCase();

  reqHeaders.set('x-url', url);

  return NextResponse.next({
    request: {
      headers: reqHeaders,
    },
  });
}import { headers } from 'next/headers';
export default function Page() {
const headerList = headers();
const url = headerList.get('x-url')!;
const query = new URL(url).searchParams.get('q');
return (
<>
<h2>Welcome to Coding Beauty.</h2>
<p>Your query: {query}</p>
</>
);
}Get URL query params in getServerSideProps()
To get the URL query string params in the Pages Router getServerSideProps() function, use the context.query property:
export async function getServerSideProps(context) {
  const { songId } = context.query;
  const res = await fetch(`https://api.example.com/lyrics?songId=${songId}`);
  const lyrics = await res.json();

  return {
    props: {
      lyrics,
    },
  };
}

export default function LyricsPage({ lyrics }) {
  const { song, content } = lyrics;
  return (
    <div>
      {song} lyrics<div>{content}</div>
    </div>
  );
}
Get URL query params in Next.js Pages Router API
To get the URL query string parameters in an API in the pages directory, use the request.query property:
import type { NextApiRequest, NextApiResponse } from 'next';

export default async function handler(
  req: NextApiRequest,
  res: NextApiResponse
) {
  const { name } = req.query;
  const stockRes = await fetch(`api.example.com/stock-prices?name=${name}`);
  const stockData = await stockRes.json();

  res.status(200).json({ stockData });
}
Get URL query params in Next.js App Router API
To get the URL query string params in an API in the Next.js 13 app directory, use the request.nextUrl.searchParams property:
import { NextRequest, NextResponse } from 'next/server';

const data = {
  'new-york': { summary: 'sunny' }
  // ...
}

export async function GET(req: NextRequest) {
  const location = req.nextUrl.searchParams.get('location');
  const weatherData = data[location];
  return NextResponse.json({ weatherData });
}